How to Make Apple Wine at Home: A Simple Recipe
How to make apple wine at home begins with understanding that this classic fruit wine offers one of the most rewarding introductions to home winemaking. I still remember my first batch of apple wine—the crisp autumn scent filling my small apartment kitchen, wondering if those humble grocery store apples could really transform into something special. Twenty years and countless batches later, I’m still captivated by how this accessible fruit creates a wine that rivals many commercial offerings.
The beauty of apple wine lies in its simplicity and adaptability. Unlike grape wines that often demand specific varieties and growing conditions, a good apple wine can be crafted from readily available fruit in almost any region. I’ve found that even beginners can achieve remarkable results with minimal equipment and patience.
In this guide, I’ll walk you through my time-tested process for creating exceptional apple wine in your own kitchen. We’ll cover everything from selecting the right apples to bottling your finished creation—with plenty of tips I’ve learned through both success and failure along the way.
Selecting Your Apples: The Foundation of Great Wine
The apples you choose will fundamentally shape your wine’s character. While you can make wine from any apple variety, I’ve found that blending different types creates the most balanced flavor profile. After years of experimentation, I’ve developed a simple approach that works remarkably well:
This combination provides the perfect balance of sugar, acidity, and aroma. Truth be told, my old mentor at Sonoma would probably insist on specific heirloom varieties, but I’ve made outstanding wine with standard grocery store apples that cost a fraction of the price.
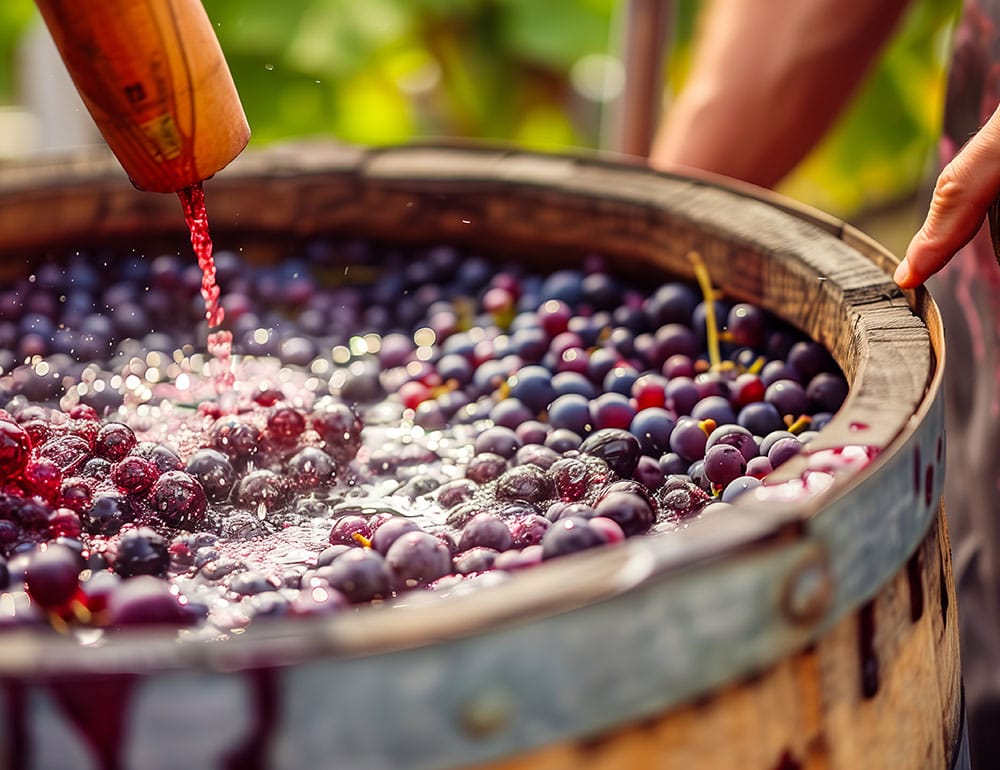
What’s most important is freshness. Use apples at their peak ripeness—sweet-smelling, firm but not hard, and free from bruises or soft spots. The fall harvest season naturally provides the best selection, but decent apples are available year-round in most areas.
Wait, this reminds me of something I noticed last year… even “imperfect” apples sold at discount can make excellent wine as long as they’re not spoiled! I’ve had tremendous success with “seconds” from local orchards, often at half the price of perfect specimens.
Equipment & Ingredients: Setting Yourself Up for Success
Essential Equipment:
Ingredients (for 1 gallon):
Ethan’s Secret: The 24-Hour Apple Preparation
Over decades of winemaking, I’ve discovered that how you prepare your apples dramatically affects your wine’s flavor depth. Here’s my technique that I rarely share outside my in-person workshops:
This extra day makes an astonishing difference in the final product—it’s the difference between a simple apple wine and one with remarkable complexity that has friends asking where you purchased it.
Step-by-Step Winemaking Process
1. Preparation & Sanitization
Start by thoroughly sanitizing all equipment. I cannot stress this enough—I’ve seen too many promising batches ruined by contamination. Remember my summer of 2018? Three consecutive batches lost because I rushed this step. Never again.
Sanitization isn’t just wiping things down. Every surface that touches your wine needs proper chemical sanitizer contact time. I use Star San mixed at exactly 1 oz per 5 gallons of water, allowing surfaces to remain wet for at least 60 seconds.
2. Processing Your Apples
After your 24-hour preparation:
3. Starting Fermentation
After 24 hours:
Within 24-48 hours, you should see active fermentation—bubbling, foaming, and a distinctly alcoholic aroma. The temperature is crucial here: I’ve found that 68-72°F (or was it 74? Let me think…) produces the cleanest fermentation with 71B yeast. Too warm, and you’ll get off-flavors; too cool, and fermentation may stall.
4. Managing Primary Fermentation
For the next 5-7 days:
When the specific gravity reaches approximately 1.020, it’s time for the next stage. I used to wait until complete fermentation, but experience has taught me that transferring at this slightly-sweet stage produces a better final product.
5. Secondary Fermentation
Now comes the waiting game:
Secondary fermentation will continue for 2-4 weeks. You’ll see fewer bubbles in the airlock as the process slows. When the bubbling stops completely and the specific gravity remains stable for three consecutive days (ideally at 0.998-1.000), fermentation is complete.
6. Clearing & Aging
Patience transforms good wine into great wine:
During this time, the wine will naturally clear as particles settle to the bottom. I’ve found that apple wine benefits tremendously from at least 3 months of aging, though 6 months produces a remarkably smooth result. The harsh edges soften, and the apple character develops wonderful complexity.
7. Bottling Your Creation
When your wine is crystal clear and has aged appropriately:
Your apple wine will continue to improve in the bottle for up to a year, though it’s perfectly enjoyable immediately. Just be sure to set aside a few bottles for extended aging—you’ll be amazed at how the flavor evolves!
Troubleshooting Common Apple Wine Challenges
Cloudy Wine: If your wine won’t clear after 3 months, it likely has pectin haze. Add additional pectic enzyme (follow package instructions) and give it another month.
Fermentation Stalls: Check the temperature first—apple wine ferments best at 65-75°F. If temperature is correct, try adding additional yeast nutrient and gently stirring to rouse the yeast.
Off Flavors: If you detect a sulfur smell (rotten eggs), this indicates stressed yeast. Rack the wine immediately to a clean container with good headspace, and stir vigorously to introduce oxygen.
Overly Acidic: Apple wines sometimes finish too tart. After fermentation, you can add calcium carbonate (1/4 teaspoon per gallon) to reduce acidity, but always test with a small sample first.
Apple wine is remarkably forgiving. I’ve rescued countless batches from seemingly disastrous situations. The key is addressing issues promptly rather than hoping they’ll resolve on their own.
The Joy of Your First Glass
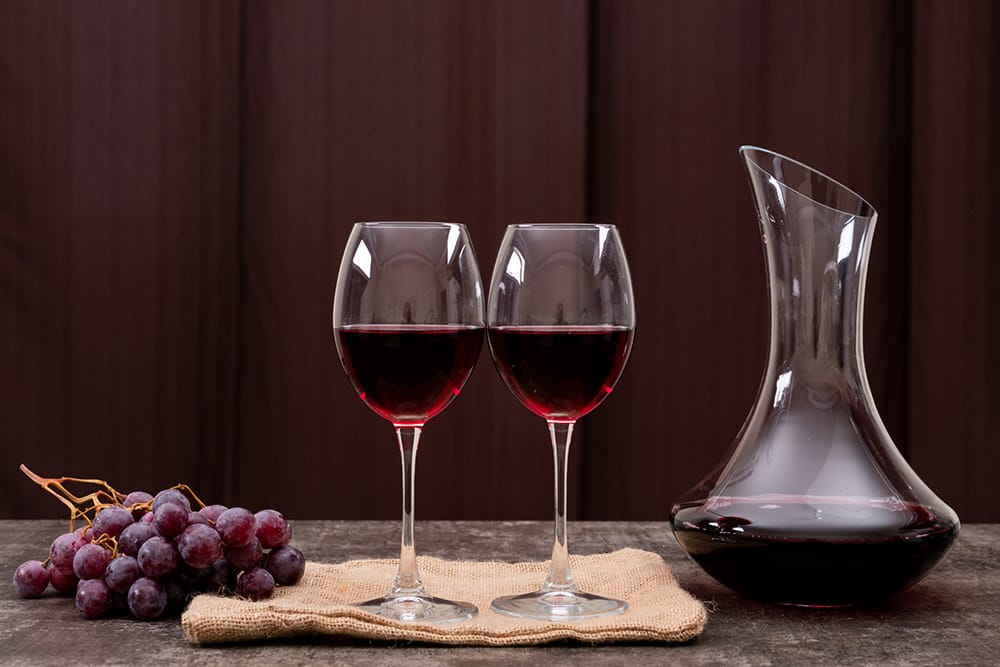
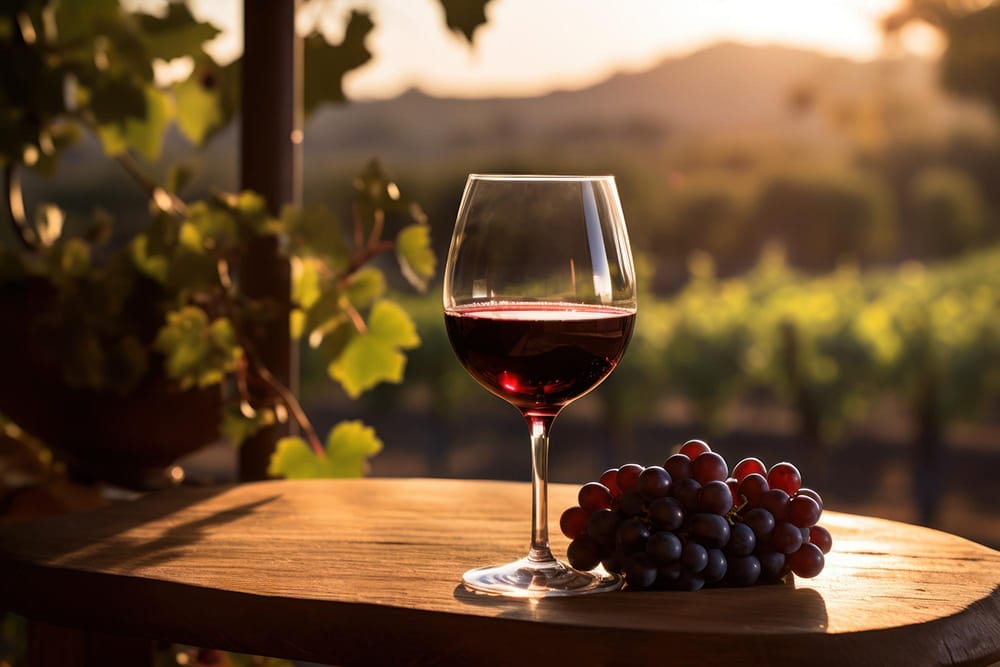
There’s nothing quite like pouring that first glass of homemade apple wine. The pale golden color catching the light, the delicate apple aroma rising from the glass, and that first sip revealing layers of flavor you created with your own hands.
Your apple wine will likely have a beautiful clarity with hints of gold and amber. The aroma should prominently feature fresh apple notes alongside subtle complexity from fermentation. The taste should balance crispness, fruit character, and a clean finish.
Home winemaking connects us to ancient traditions while creating something uniquely our own. Each batch tells a story—of the season, the fruit, and the care you put into the process. As you raise your glass, remember that you’re not just enjoying a beverage; you’re experiencing the culmination of a rewarding journey.
I encourage you to keep detailed notes on your process and results. Your winemaking journal will become invaluable as you refine your technique with each subsequent batch. And please, share your creation with friends—there’s no better way to spread the joy of home winemaking than through generous glasses shared in good company.
To your winemaking success! May your carboys bubble happily and your bottles always be full.


